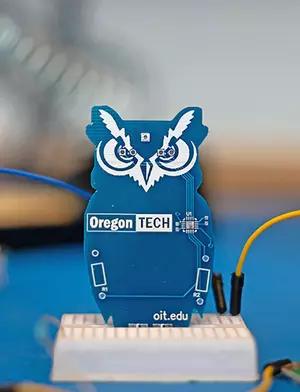
Mini Owl Project - Blue

Oregon Tech launched the Mini Owl project to engage with the community, future students, alumni, and supporters. Used in conjunction with other Oregon Tech events, participants can build their own Mini Owl pin in less than 30 minutes.


By participating in the Mini Owl Project, participants will:

  • Learn how to solder through hole components

  • Understand how to assemble a PCB as well as the circuit components involved

  • Identify components and how to connect them together to illuminate the LEDs

Photo Gallery

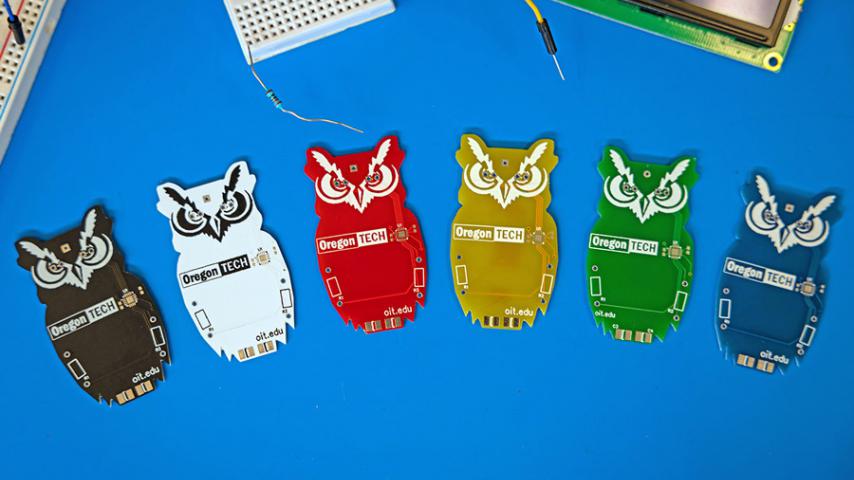
Mini Owl Colors
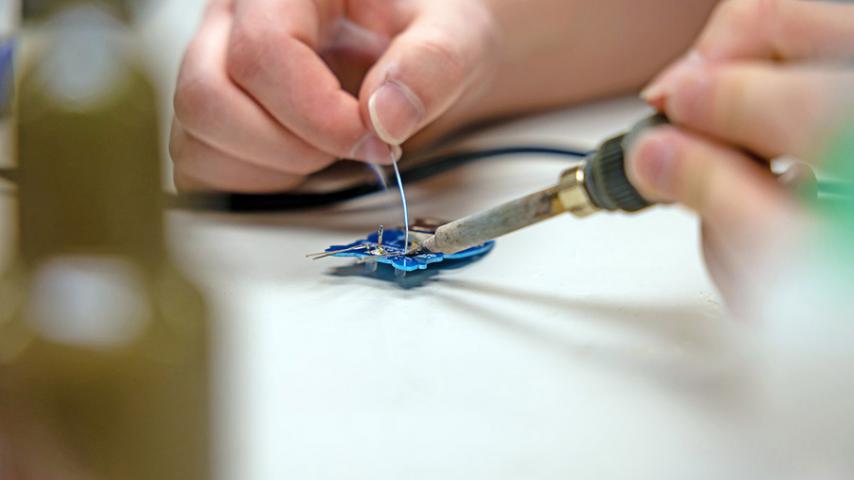
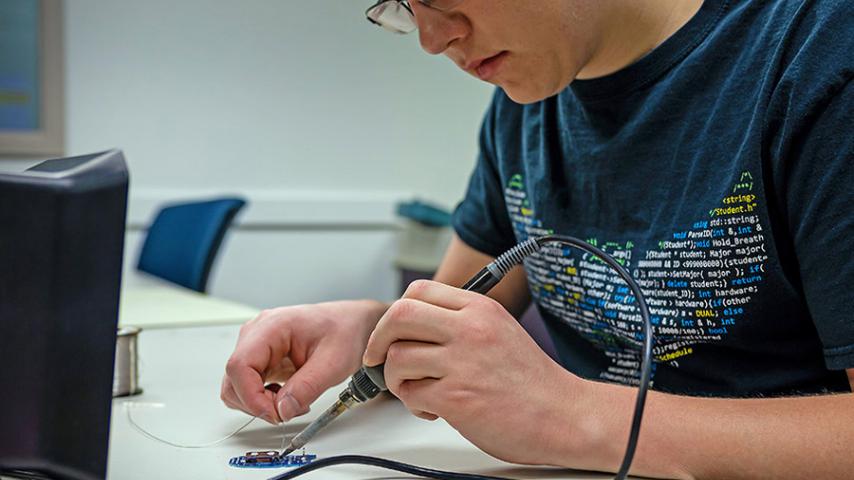
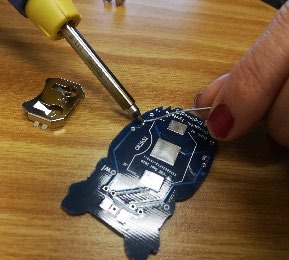
Mini Owl Student Soldering
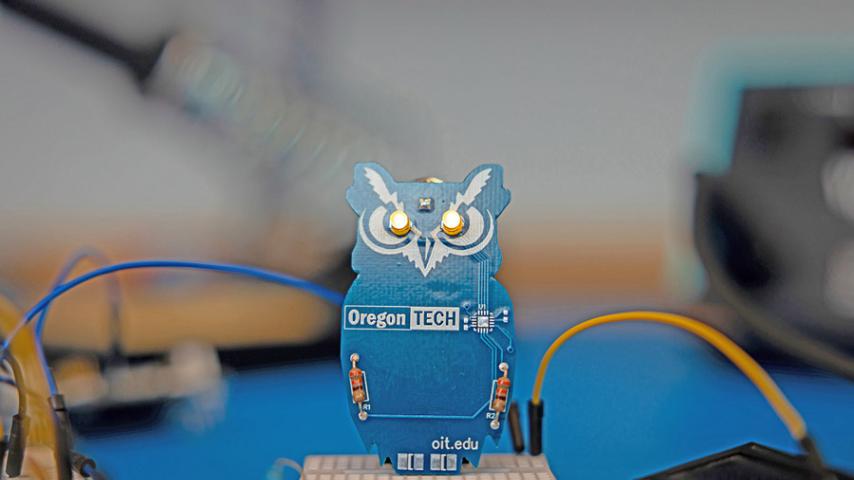
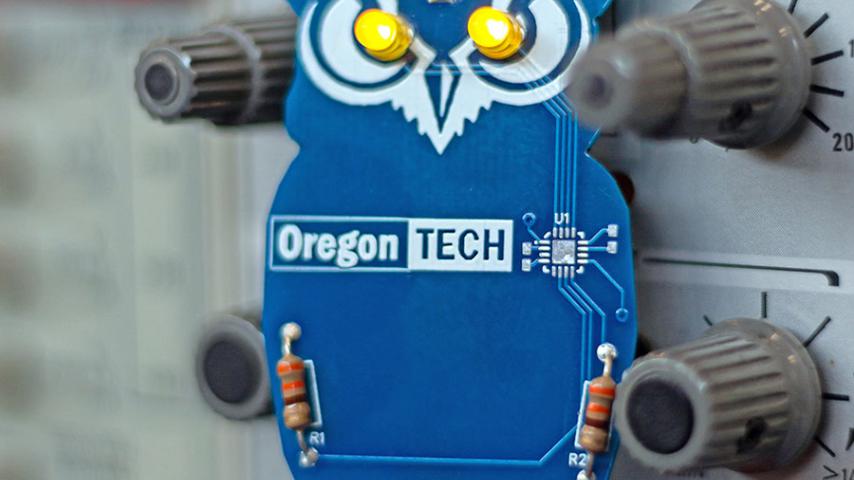
Mini Owl Lights On
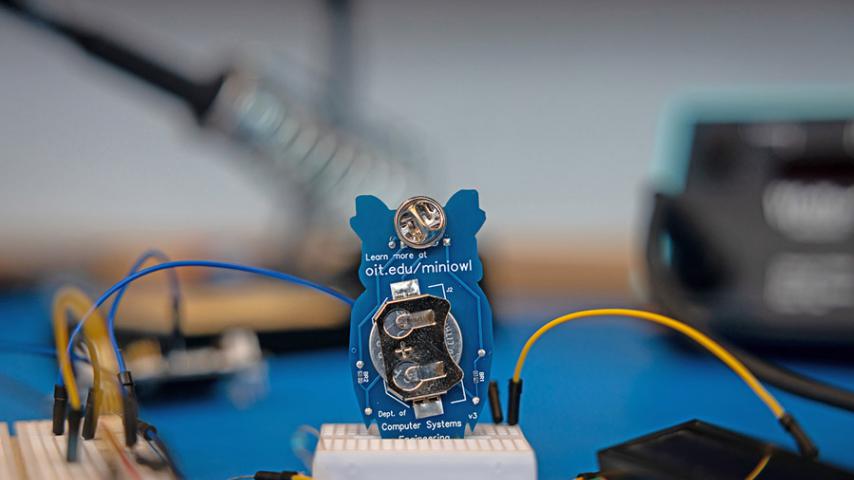
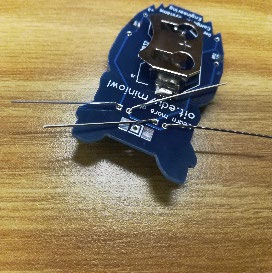
Mini Owl Back side
Mini Owl Perched
Student Assembling Mini Owl
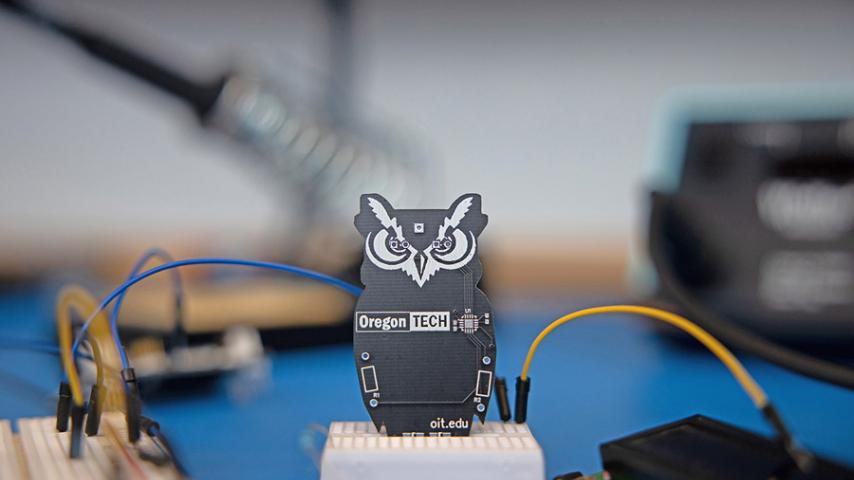
Black Mini Owl
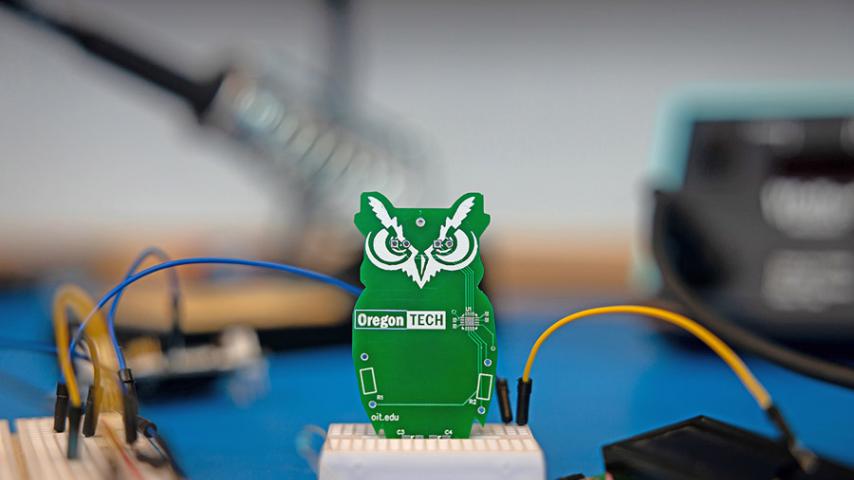
Green Mini Owl

How to Build the Mini Owl

Required Equipment

  • Soldering iron
  • Safety glasses
  • Tweezers
  • Mini pliers

Required Supplies

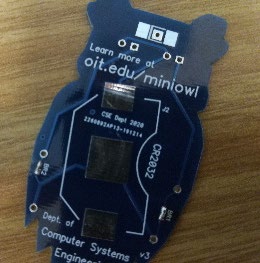
  • Mini Owl Board
  • 2 LEDs
  • Battery
  • Battery Holder
  • Earing loop or lapel pin

Step by Step

This bridge will help the whole board to include a complete circuit. Without the bridge, the circuit would be incomplete and the eyes would not light up. Originally, the board had a resistor here but the final design does not include that resistor.

mini owl step 1 pic 1
mini owl step 1 pic 2

The battery holder should be positioned so that the edge with a "C" shape is on the right side and aligns with the white lines on the back of the Mini Owl board. Use solder to attach the battery holder by soldering on the large metal soldering pads at the top and bottom of the battery holder.

pic 1
pic 2

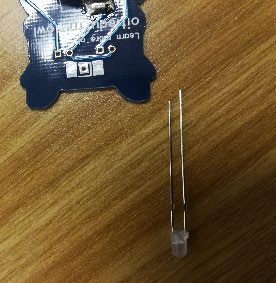
Notice that the LED has two legs, a long leg and a short leg. The long leg is position and the short leg is negative. Notice that each eye has two holes, a round (negative) and a square (positive) hole. Insert the LEDs into the proper holes, taking care to align polarity properly.

mini owl step 3 pic 1
mini owl step 3 pic 2

Apply a little solder to each of the four LED legs on the back side of the Mini Owl board. Then use the pliers to trim the legs. If you are making an earring, be sure to save at least one of the leg trimmings.

pic 1
pic 2

Use one of the leg trimmings to make a U shaped piece by folding it over the tweezers. Then use the pliers to trim the piece. (Not shown: add the earring hook to the U shaped piece, taking care to make sure it is facing the right direction.) Then use the tweezers to hold the U shaped piece and solder it to the pads at the top of the Mini Owl.

pic 1
pic 2

Separate the pin clasp from the pin itself. Solder the pin to the Mini Owl as shown in the second picture, using the solder pads at the top of the Mini Owl.

pic 1
pic 2

Insert the battery with the negative side next to the Mini Owl board and the positive side towards the battery holder. The Mini Owl should now be ready to wear!

pic 1
pic 2

Assembly Video

Eddy Sackinger, senior in the Embedded Systems Engineering Technology program, shows how to assemble the Mini Owl.